
Tags
baby, crafting, crafts, decoration, diy, home, hot glue, Infant, letters, monkeys, name, nursery, peeling bark, sycamore tree

My sister-in-law is an artist. For Christmas she made us our son’s name to go on the wall. She made the letters, then it was up to me to figure out how to hang them! I am not creative, so I am really impressed with what I came up with.
I thought a stick would look really cute to hang them. We have a very large sycamore tree in our back yard that is always dropping sticks. They are unique sticks because of how the bark peels off.
I didn’t want to hang a dirty stick with peeling bark above my son’s crib. So I decided to mod podge them.

Before

During
I guess I didn’t get one of just the stick after it was done. All I did was apply one coat over the entire stick, making sure to get every little spot covered.
I then used ribbon to hang the letters. I tried using fishing line first and then ribbon, but that didn’t work well. I used the same ribbon that was used on the outside of the letters. I accidentally came up with how to tie the ribbon. I was trying to make a bow (which I don’t know how to do) and in the process thought it looked like a leaf. So I went with it!

Ribbon “leaf”
Tying the ribbon was really easy.
1. Crisscross the ribbon.
2. Bring the short end around back as if to tie a knot. 
3. Pull it tightish. You don’t want the ribbon to gather, but you don’t want it too loose either.
Once you have a knot with a long piece, as in the picture, you are ready for step 4.
4. Tuck the “extra” end back into the knot. Make sure you tuck it in front so that the shining side of the ribbon is showing. 
5. Cut the ribbon to about 6 inches (depending on how low you want the letters to hang.)
6. Turn the ribbon onto it’s back so that the dull side is facing you.
7. Hot glue inside the knot. Making sure you get the end of the ribbon glued in.
Yay, now you have your ribbon ready. I found it was easiest to make all the ribbons at once. Depending on which way you cross in step 1 will determine if the “leaf” will go to the left or right.
Now you are ready to attach the ribbons to the letters.
1. Turn the letters face down.
2. Following the direction of the nail hole, add hot glue.
3. Put your ribbon on. Make sure you are gluing it so that the shining side is towards you.
4. Fold the ribbon over and add a dot of hot glue under the knot and stick it to the other side of the ribbon. 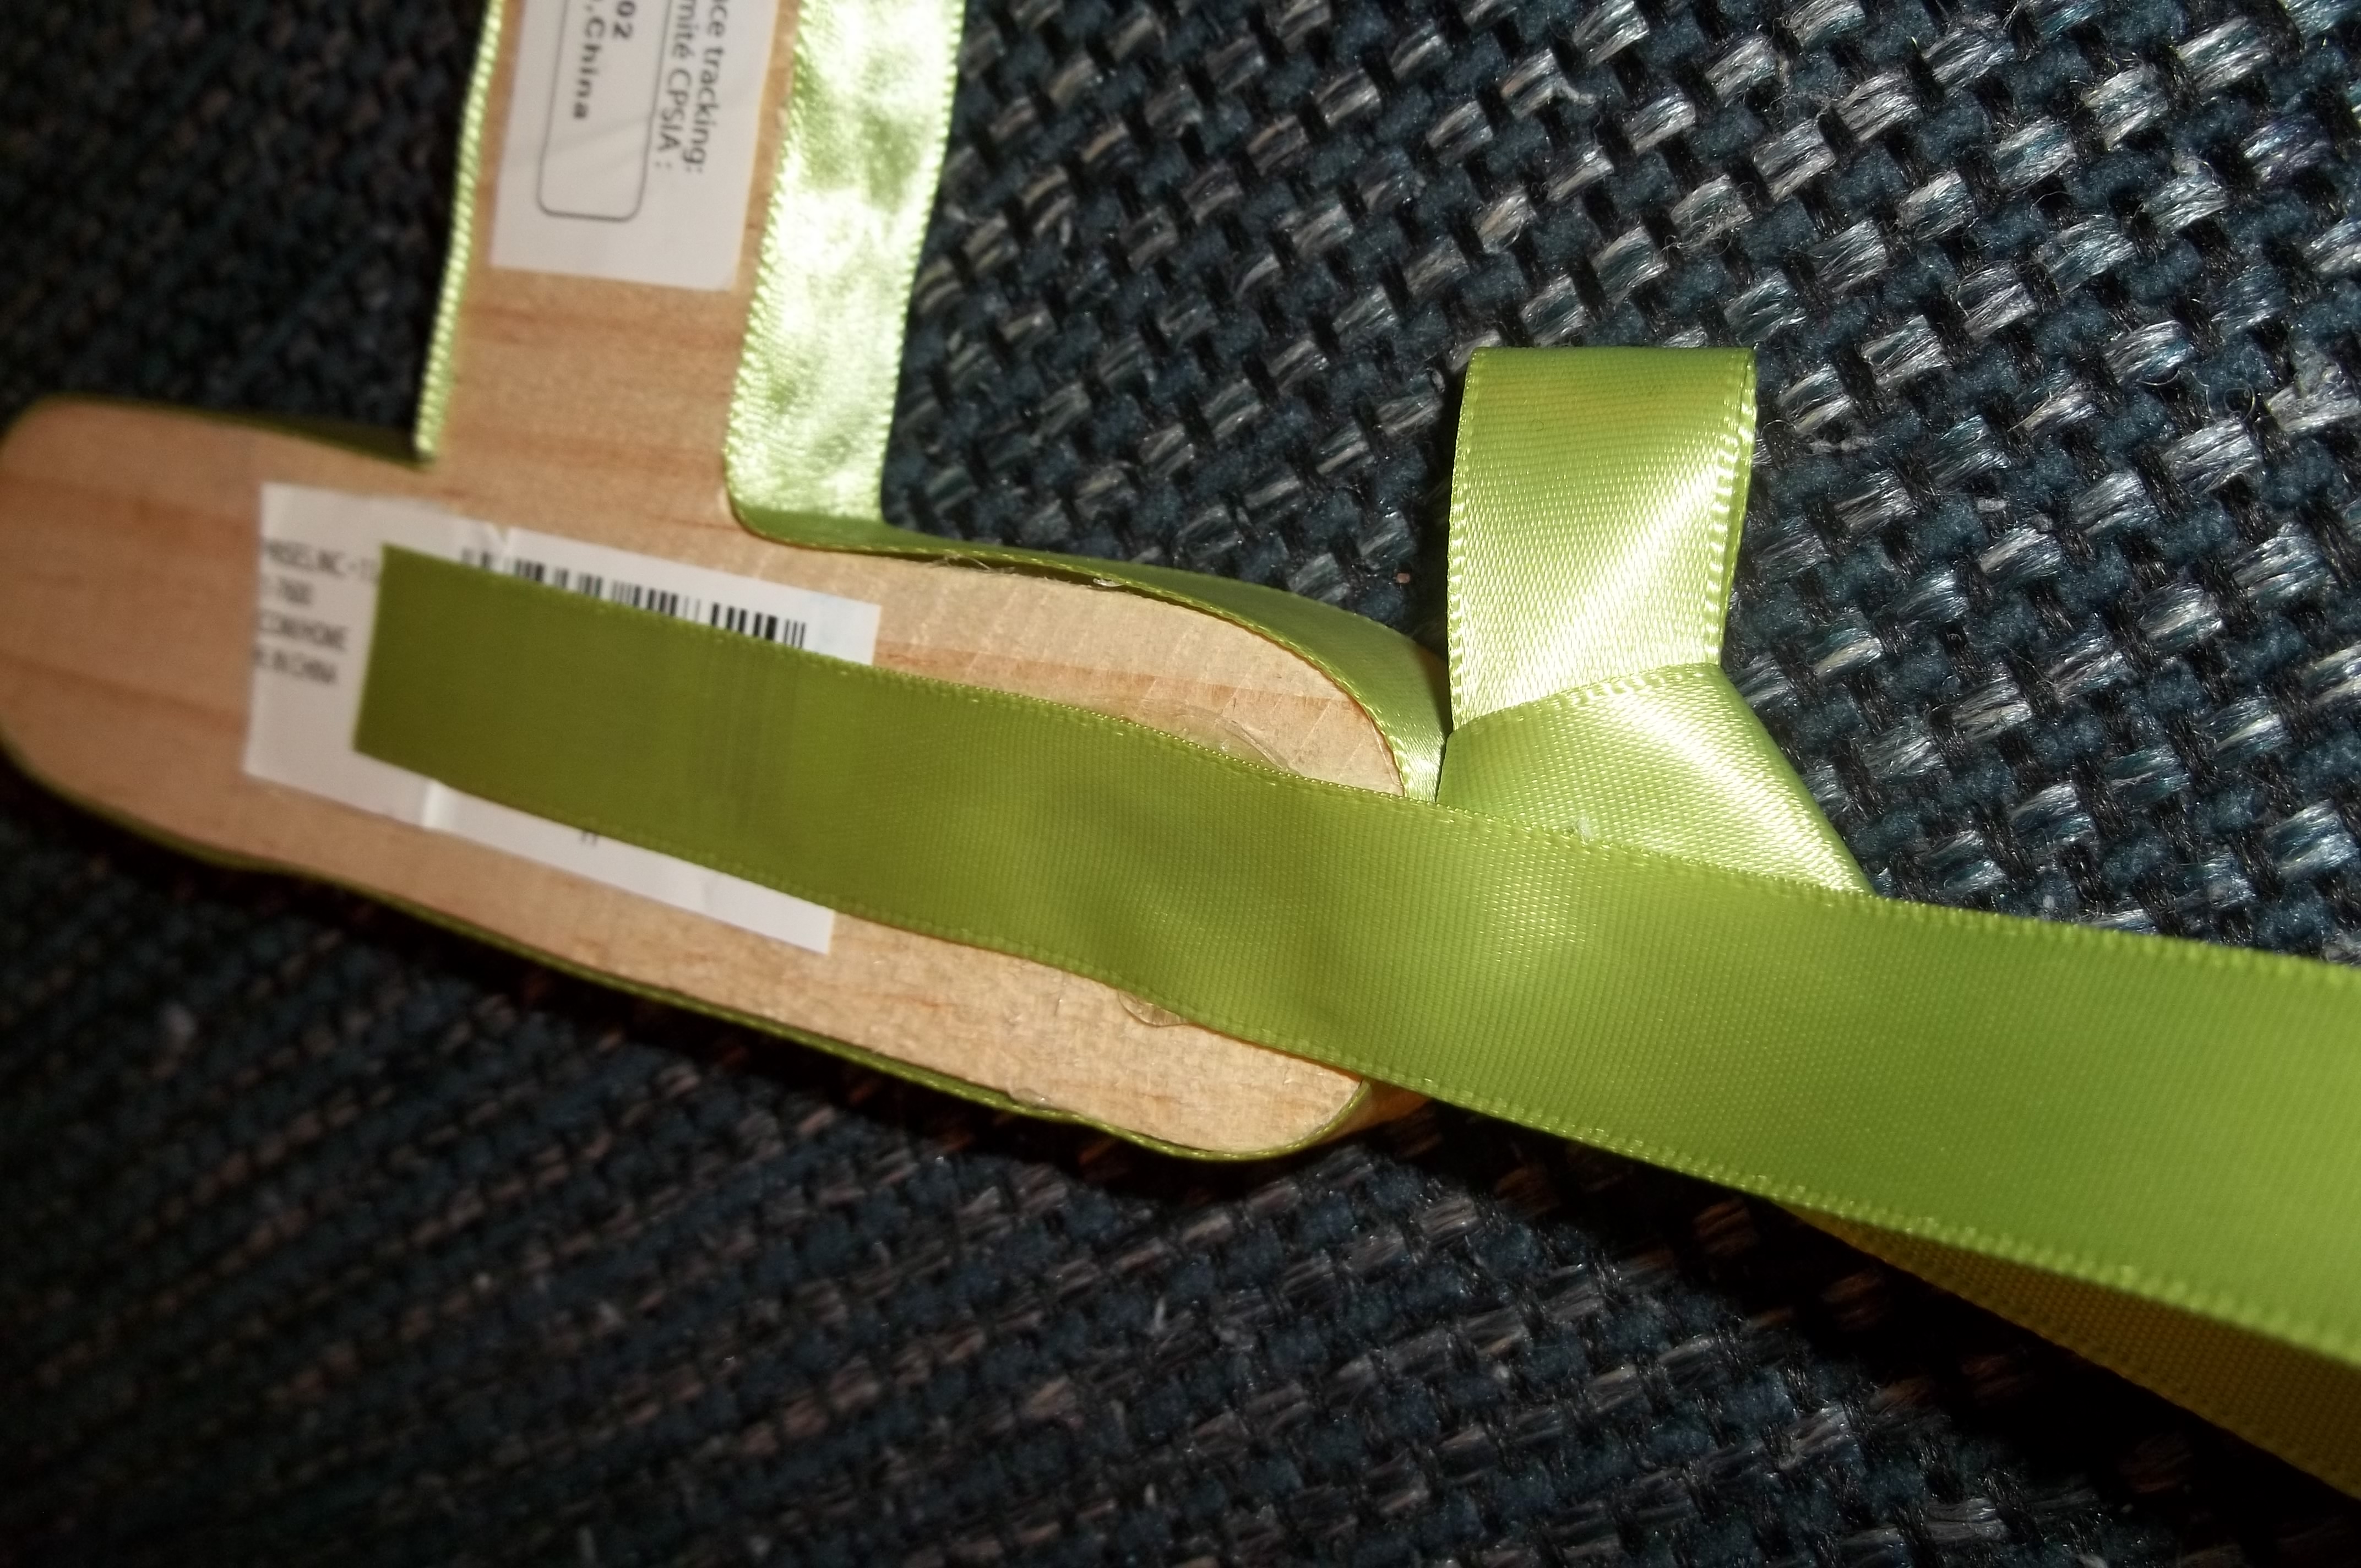
Now your ribbon is glued on and ready to go! You just need to slide it onto your stick.

Do not glue the ribbon to the stick until you have it on the wall. It is next to impossible to get it to hang the same way every time.
I attached the stick with coat hooks. When attaching the hooks to the wall you want to remember your stick isn’t even so your hooks won’t be either. I held the stick to the wall and marked where the hooks needed to go. Using a drill and screwdriver I attached them to the wall.


After you have it hanging, use a dot of hot glue on each ribbon where it meets the stick. This way the letters stay in place and the ribbon hangs smooth.

Isn’t it cute? I am so proud of myself!
(The letters were made using wooden letters, scrapbook paper, ribbon, and paint. She covered the front with the paper and all the edges with ribbon. She then painted the leaves and monkeys on them.)

Wow, that is super cute!! Love it! 😀 Great idea to use the sycamore tree branch.